Master the Art of Making Breadcrumbs: A Step-by-Step Guide for Culinary Success
Breadcrumbs are a versatile ingredient that can add texture and flavor to a wide range of dishes. Whether you're coating chicken cutlets, adding a crispy topping to macaroni and cheese, or thickening a soup, homemade breadcrumbs can elevate your culinary creations to the next level. Making your own breadcrumbs is not only cost-effective but also allows you to control the quality and taste of the final product. In this step-by-step guide, we will walk you through the process of mastering the art of making breadcrumbs, from gathering the necessary ingredients and equipment to storing and using them effectively. So let's dive in and discover how you can achieve food excellence with homemade breadcrumbs!
Gather the necessary ingredients and equipment
To successfully make breadcrumbs, it is important to gather all the necessary ingredients and equipment beforehand. The ingredients required for making breadcrumbs are simple and easily accessible. You will need fresh bread, preferably a day or two old, as well as any additional seasonings you may want to add for flavor.
In terms of equipment, you will need a baking sheet or tray to dry the bread, a food processor or blender for grinding the dried bread into crumbs, and an airtight container for storing the finished product. It is also helpful to have a sharp knife or bread slicer to cut the bread into slices of your desired thickness.
By ensuring that you have all the necessary ingredients and equipment ready, you can streamline the breadcrumb-making process and achieve optimal results.
Choose the right bread for making breadcrumbs
When it comes to making breadcrumbs, choosing the right bread is crucial for achieving the desired texture and flavor. Opt for a sturdy bread with a dense crumb, such as French baguette, sourdough, or whole wheat bread. These types of bread have enough structure to hold their shape during the drying process and produce crispy breadcrumbs. Avoid using soft or fluffy bread, as they tend to become mushy when dried and won't yield the desired crunch. Additionally, using day-old or slightly stale bread is ideal as it will dry more easily and absorb flavors better. Experiment with different types of bread to find your preferred taste and texture for homemade breadcrumbs.
Preparing the bread for drying
Preparing the bread for drying is an essential step in making breadcrumbs. Start by selecting stale bread, as fresh bread will not dry properly. Cut the bread into slices or cubes to increase the surface area for drying. If the crust is too hard, you can remove it, but it's not necessary. Some recipes even call for leaving the crust intact. Ensure that the bread is evenly sliced or cubed to promote uniform drying. Once you have prepared the bread, it's time to move on to the next step: drying it thoroughly.
Drying the bread
Drying the bread is a crucial step in making breadcrumbs. It helps to remove any moisture from the bread, ensuring that it becomes crispy and easy to grind. To dry the bread, start by preheating your oven to a low temperature, around 200°F (93°C).
Next, slice your bread into thin pieces or tear it into small chunks. This will help the bread dry evenly and quickly. Place the bread slices or chunks onto a baking sheet in a single layer, making sure they are not overlapping.
Now, place the baking sheet with the bread into the preheated oven. Leave the oven door slightly ajar to allow for air circulation. This will help speed up the drying process.
Let the bread dry in the oven for about 1-2 hours or until it becomes completely crisp and brittle. The exact time may vary depending on the thickness of your bread slices and your oven's temperature accuracy.
Once dried, remove the baking sheet from the oven and let the bread cool completely before grinding it into breadcrumbs. The dried bread should be hard and break easily when pressed.
Remember, thorough drying is essential as any remaining moisture can lead to mold growth and spoilage of your breadcrumbs. So be patient and ensure that your bread is fully dried before moving on to grinding it into breadcrumbs.
By following these steps, you will have perfectly dried bread ready for grinding into homemade breadcrumbs. Let's move on to the next step: grinding!
Grinding the dried bread into breadcrumbs
Grinding the dried bread into breadcrumbs is a crucial step in the process of making homemade breadcrumbs. Once the bread has been properly dried, it is ready to be transformed into fine crumbs.
To begin, break the dried bread into smaller pieces and place them in a food processor or blender. Make sure not to overcrowd the machine as this may result in uneven grinding.
Pulse the machine a few times to start breaking down the bread. Then, run it on high speed until you achieve the desired consistency. For coarse breadcrumbs, pulse for shorter periods; for finer breadcrumbs, blend for longer.
If you don't have a food processor or blender, you can also use a grater or even your hands to crumble the dried bread into small pieces. However, using a machine will provide more consistent results.
Remember that different recipes may call for different textures of breadcrumbs. So adjust your grinding time accordingly to achieve either coarse or fine crumbs.
Once you have ground all the dried bread, sift through the resulting crumbs to remove any larger pieces that didn't grind properly. These can be reprocessed or used for other purposes like croutons.
Now that your homemade breadcrumbs are ready, they can be used immediately in recipes or stored for later use. Properly stored in an airtight container in a cool and dry place, homemade breadcrumbs can last up to several months.
By mastering the art of grinding dried bread into breadcrumbs, you open up endless possibilities in your culinary endeavors. From adding texture to meatballs and coating chicken cutlets to creating flavorful toppings for casseroles and gratins, homemade breadcrumbs are an essential ingredient in many dishes.
So go ahead and give it a try! Experiment with different types of bread and grinding techniques to find your preferred texture. With practice, you'll soon become a pro at making perfect homemade breadcrumbs every time.
Storing and using homemade breadcrumbs
Once you have successfully made your own breadcrumbs, it is important to store them properly to maintain their freshness. Transfer the breadcrumbs into an airtight container or resealable bag, ensuring that there is no moisture present. Store them in a cool, dry place such as the pantry or cupboard.
Homemade breadcrumbs can last for several months if stored correctly. However, it is recommended to use them within 3-4 weeks for optimal flavor and texture. Check for any signs of mold or off odors before using.
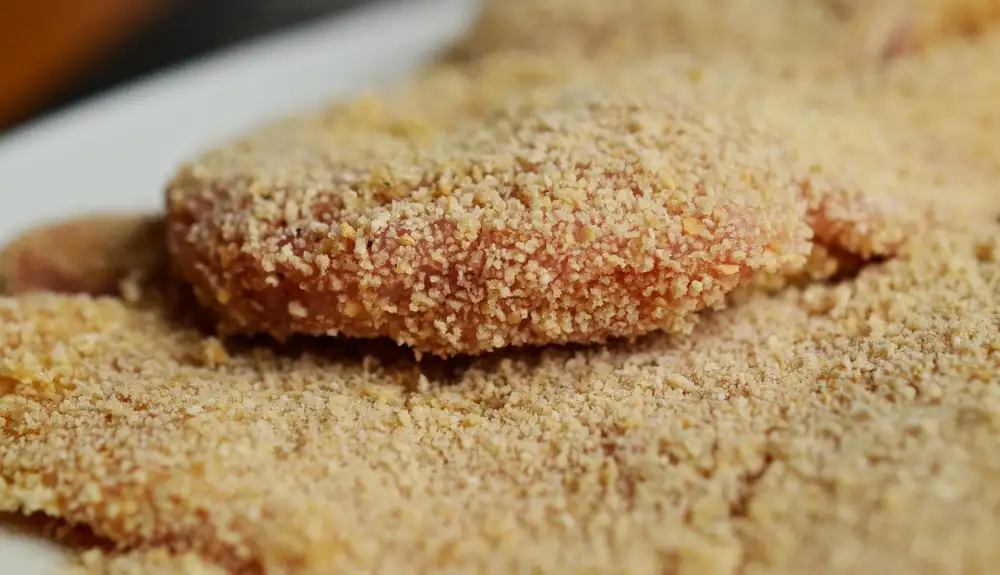
To use your homemade breadcrumbs, simply sprinkle them over casseroles, pasta dishes, or salads for added crunch and flavor. They can also be used as a coating for fried foods such as chicken tenders or fish fillets. Experiment with different herbs and spices to customize the taste according to your preferences.
Remember that homemade breadcrumbs are versatile and can be used in various recipes. They add a delightful texture and enhance the overall taste of your dishes. So why not give it a try and elevate your culinary creations with these homemade gems?
In conclusion, mastering the art of making breadcrumbs is a valuable skill that every culinary enthusiast should possess. Not only does it allow you to reduce food waste by utilizing leftover bread, but it also adds a delicious crunch and flavor to your dishes.
To recap, start by gathering the necessary ingredients and equipment, including stale bread, a baking sheet, and a food processor or blender. Choose the right type of bread for your desired texture and flavor. White bread works well for fine breadcrumbs, while whole wheat or artisanal bread adds a rustic touch.
Next, prepare the bread for drying by cutting it into small cubes or slices. Ensure that the pieces are evenly sized to promote uniform drying. Spread them out on a baking sheet and let them sit at room temperature for 1-2 days until they become completely dry.
Once dried, grind the bread into breadcrumbs using a food processor or blender. Pulse in short bursts until you achieve your desired consistency – coarse or fine.
Finally, store your homemade breadcrumbs in an airtight container in a cool, dry place. They can last up to several months if properly stored. Use them as a versatile ingredient in various recipes such as breading meats, topping casseroles, or adding texture to salads.
As a final tip, consider experimenting with different types of bread and seasonings to create unique breadcrumb flavors. Adding herbs like parsley or thyme can enhance the taste profile. Additionally, try mixing in grated cheese for added richness.
By following these steps and tips, you will be well on your way to becoming a breadcrumb-making expert. So don't let those stale loaves go to waste – turn them into golden crumbs of culinary excellence!
Published: 22. 02. 2024
Category: Recipes